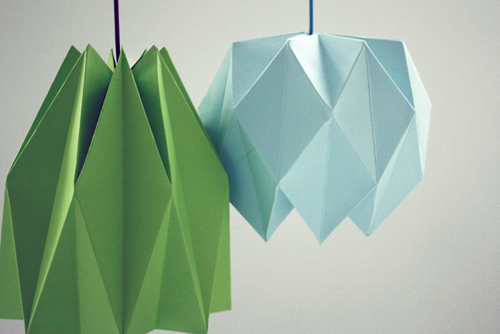
This DIY has been long in the making! I love the graphic look and simplicity, yet I’ve been hesitant to jump on the origami bandwagon. As the trend has been around for quite some time now and DIYs are getting more popular than ever, the internet is full of origami DIYs – one better than the other. But for some reason, today I felt like giving it a go, and share mine with you all.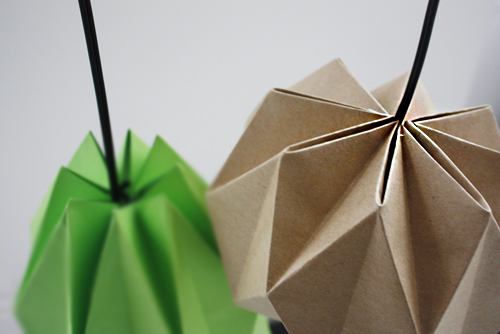
Sometimes origami DIYs tend to be more of a hassle than fun, with all the stress of getting the folds exactly right and for someone who’s not so experienced at it, the whole process might seem a bit taunting. But trust me, if you follow these simple instructions, there is very little room for error.
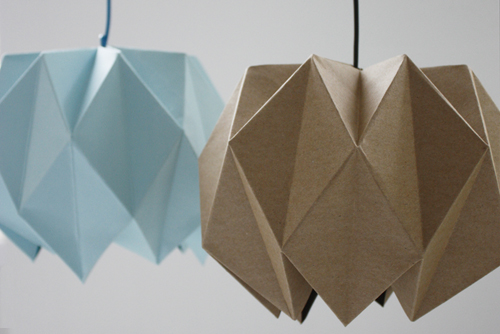
Once again you can use which ever paper you happen to have, just make sure it over 160 gsm, as lighter versions will not stay in shape. I opted for bright colors and brown. Because I only had A4 sheets of paper at home, I decided to simply tape two together. It worked just fine, but of course you can also use A3 or larger. I made two different versions of the lampshade: for the rounder version I used IQ color medium blue and brown/grey SH Recycling, and for the longer one I opted for IQ color dark green, all in 160 gsm, available at Europapier. Both of the shades take about 20 minutes to make, so not too long. Make sure to try out the folding pattern first with an extra sheet of paper, so you get the idea.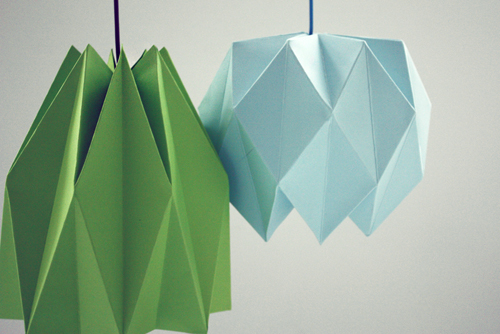
Version 1. (blue & brown)
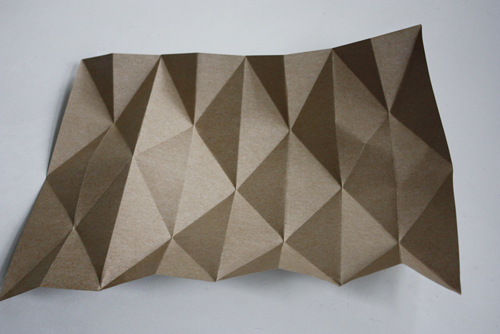
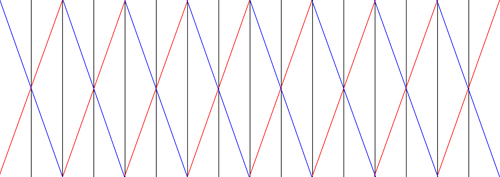
Fold the paper in three different directions. First the black lines. Then the red lines, and then blue lines. The paper naturally folds into place.
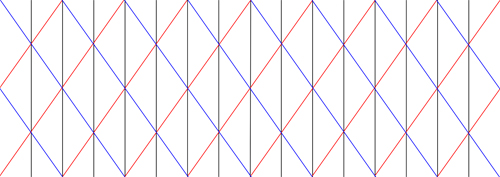
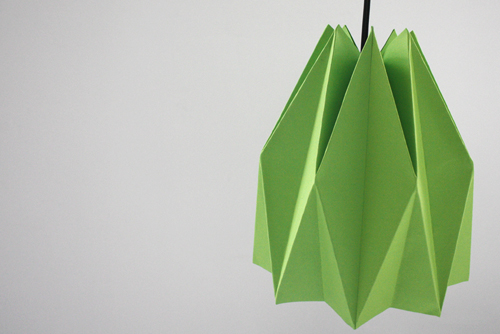
Version 2. (green)
Same as the first one but with slightly different fold lines, making the all-over shape longer.
To keep the structure from moving or opening, use a piece of string and sew the top end of the lampshade closed. Using white or see-through plastic string the result is almost unnoticed. And that’s it – as simple as that!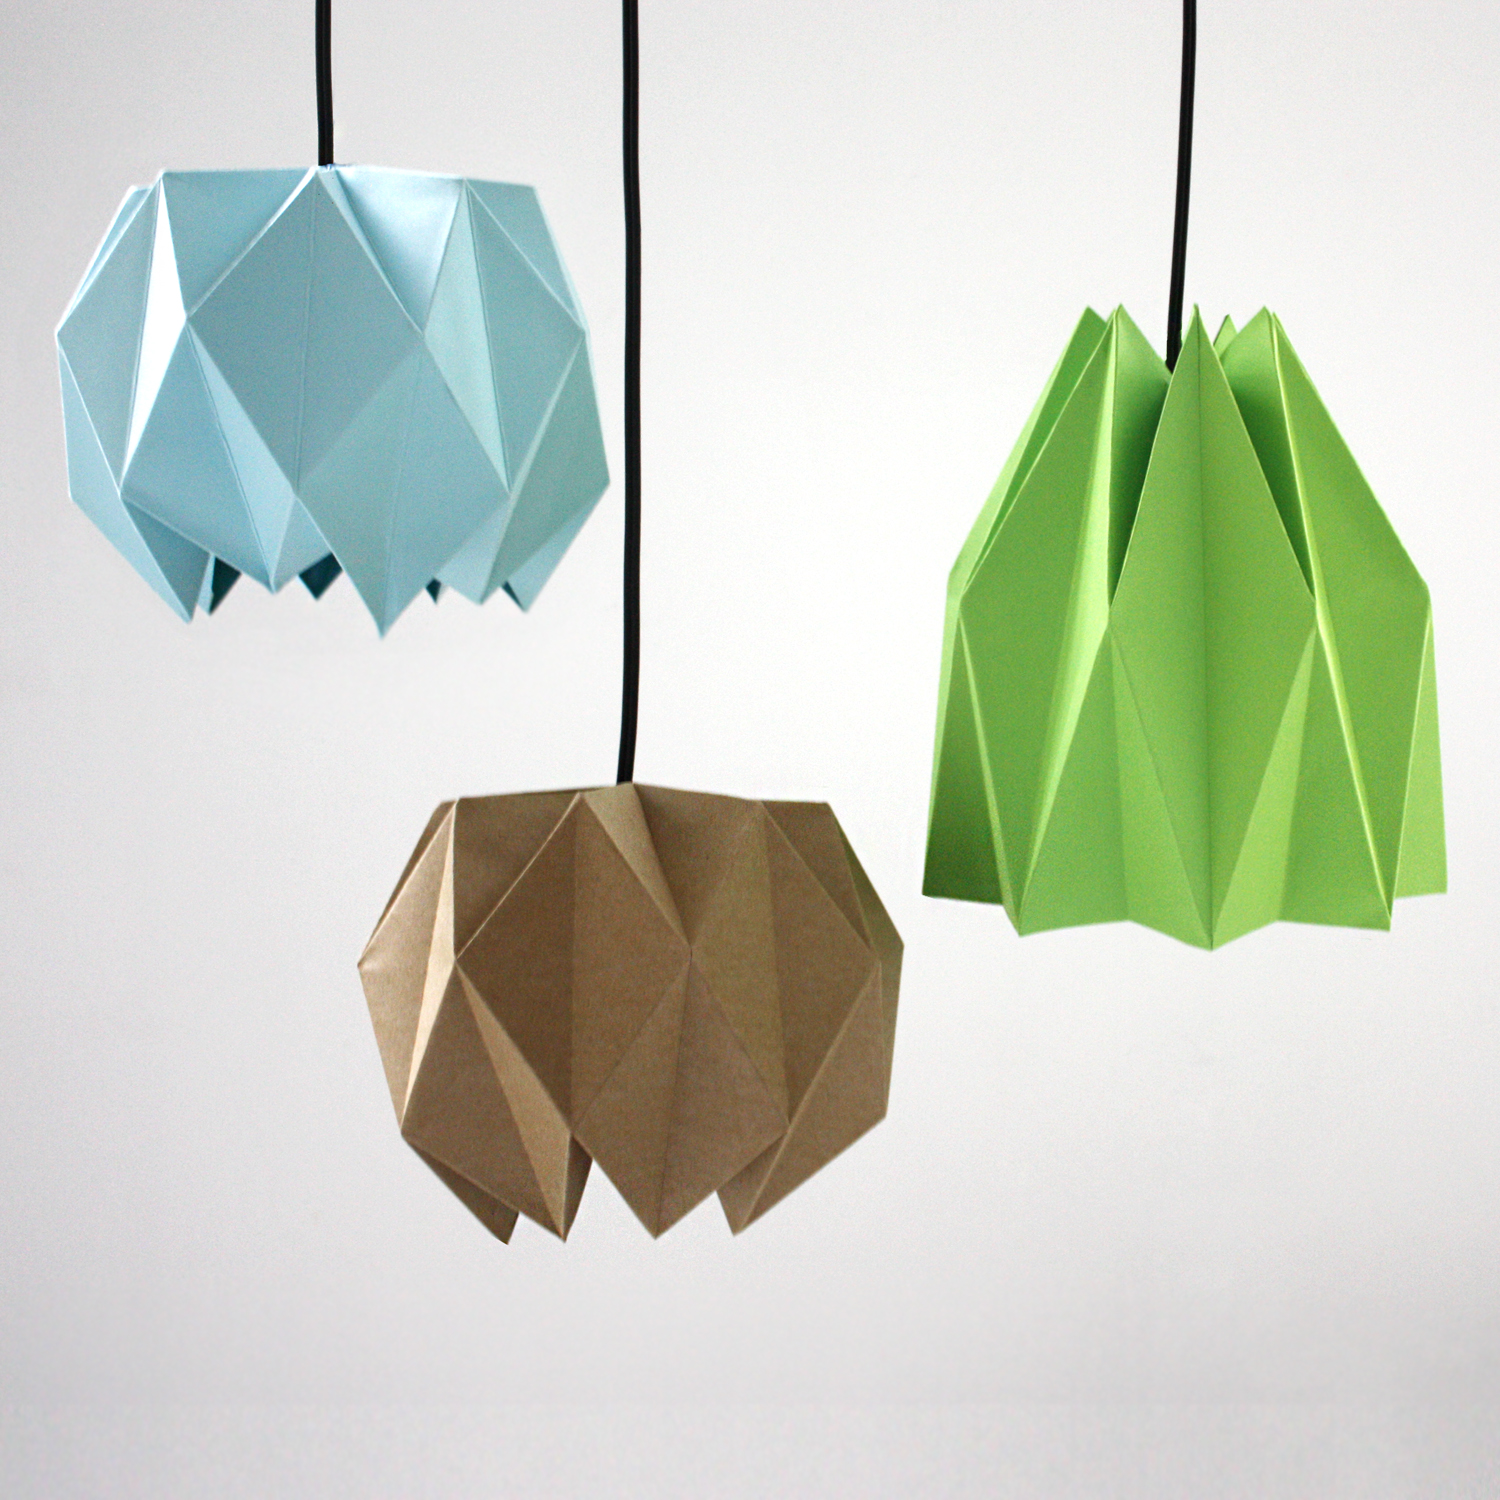
Images © Design&Paper

