Easter Bunny Garland with DIY Marbled Koehler Eco Paper

As the days grow longer and spring begins to bloom, it’s time to welcome the Easter season with a dash of creativity and a splash of color. Whether you’re decorating your home for a festive Easter gathering or simply embracing the spirit of the holiday, there’s something magical about handmade decorations that bring joy and charm to any holiday or celebration.

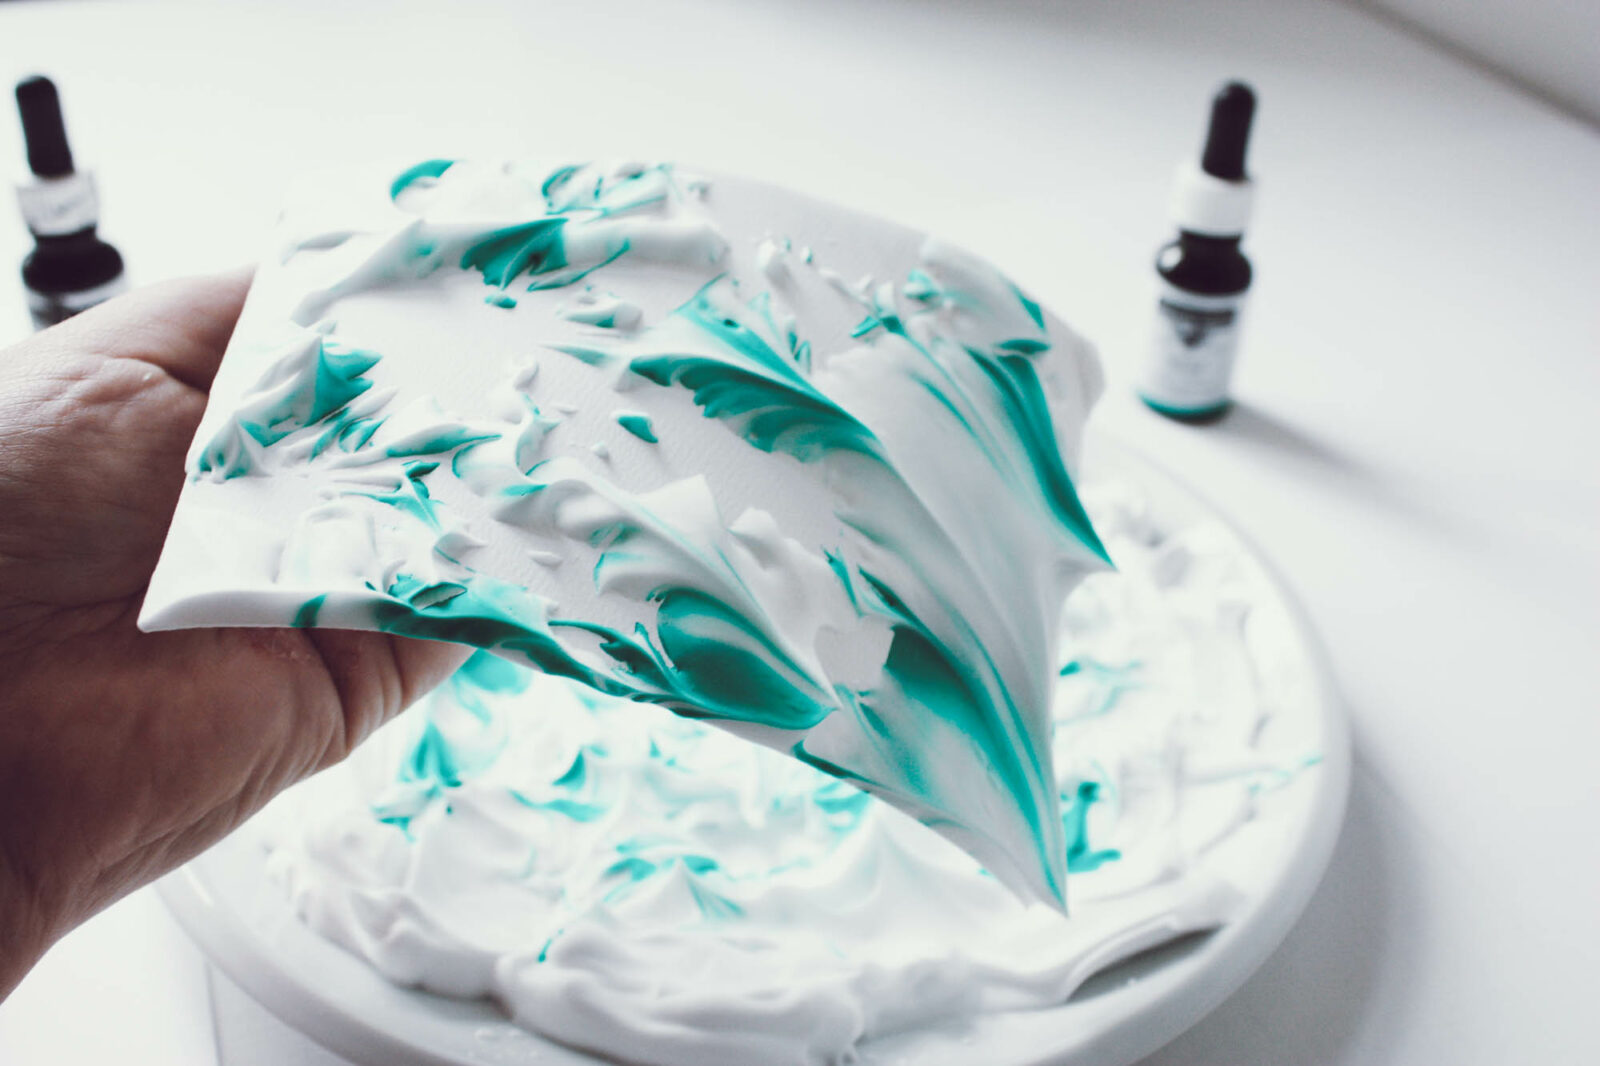
In this DIY, we’re combining two fun crafts and our love of the Koehler Eco paper collection, into one delightful project! We’re making an adorable Easter Bunny Garland using marbled paper created with the playful shaving cream technique – utilizing the beautifully sustainable Koehler Eco collection. We got the idea from Koehler Eco’s natural and calming color palette, and how well it fits to the Easter theme. Made from 100% recycled fibers, it’s a beautiful and conscious choice for any DIY or design project. The subtle textures and earthy tones serve as the perfect backdrop for marbling, allowing the inks to dance over the surface without overpowering it. Explore the full collection and see how the colors are inspired by nature here.

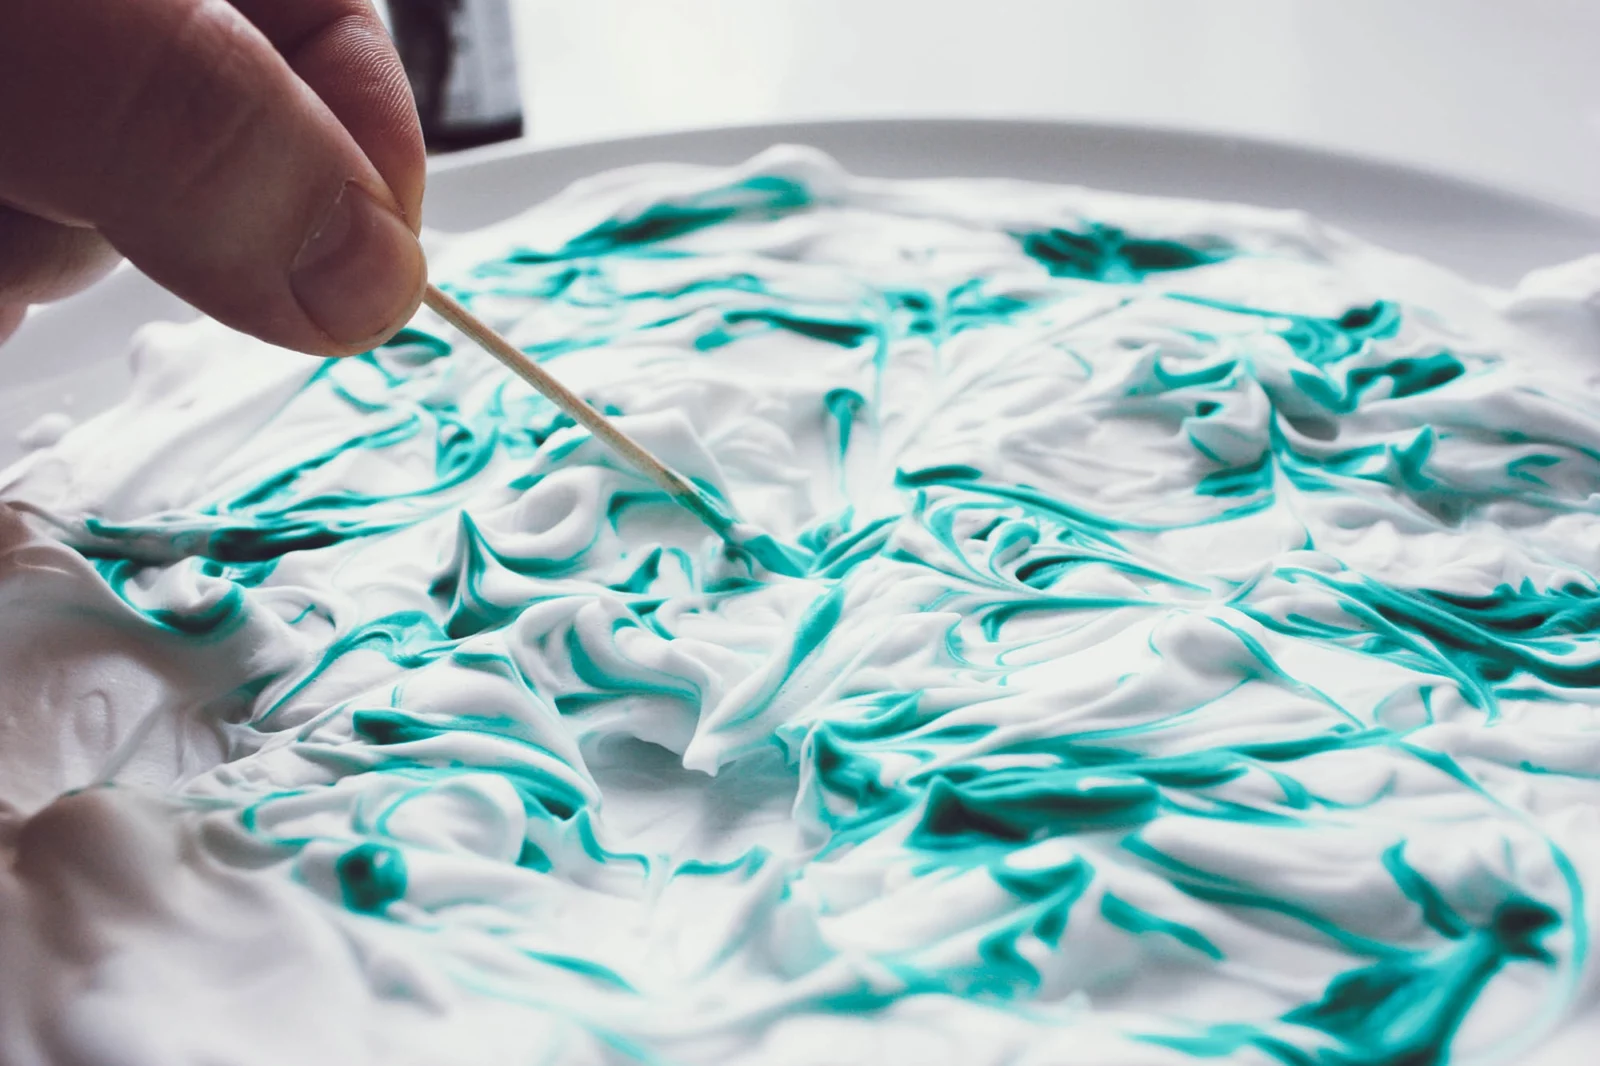
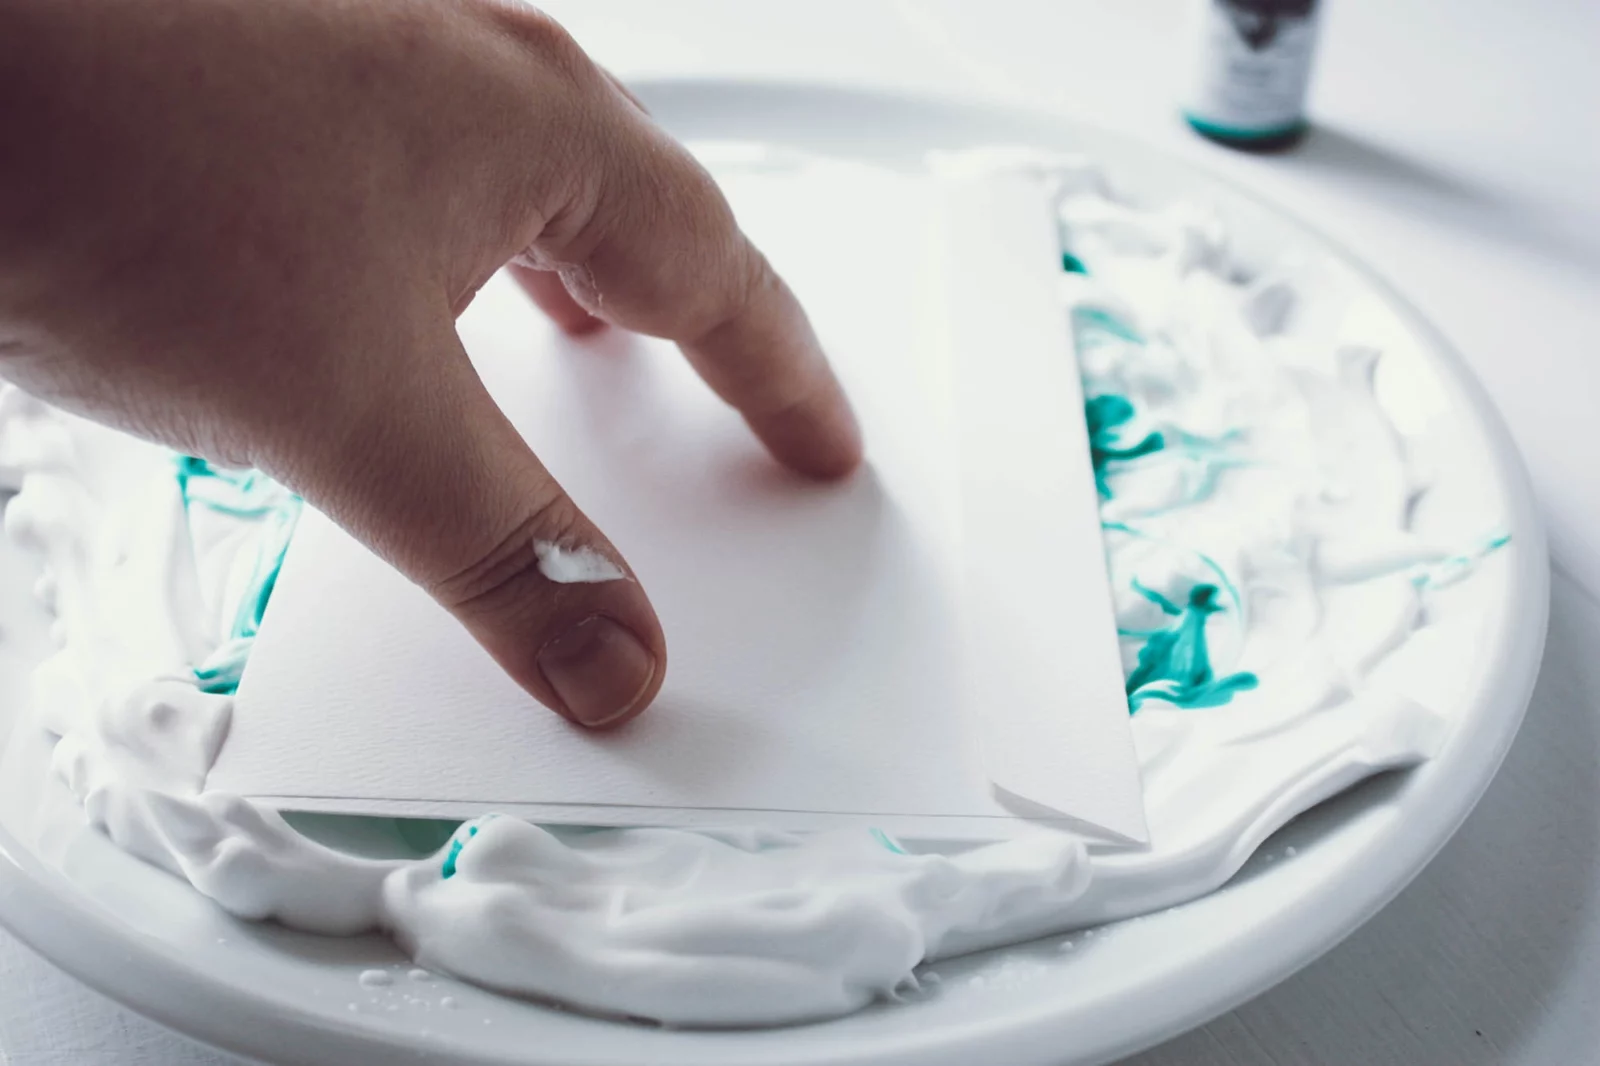
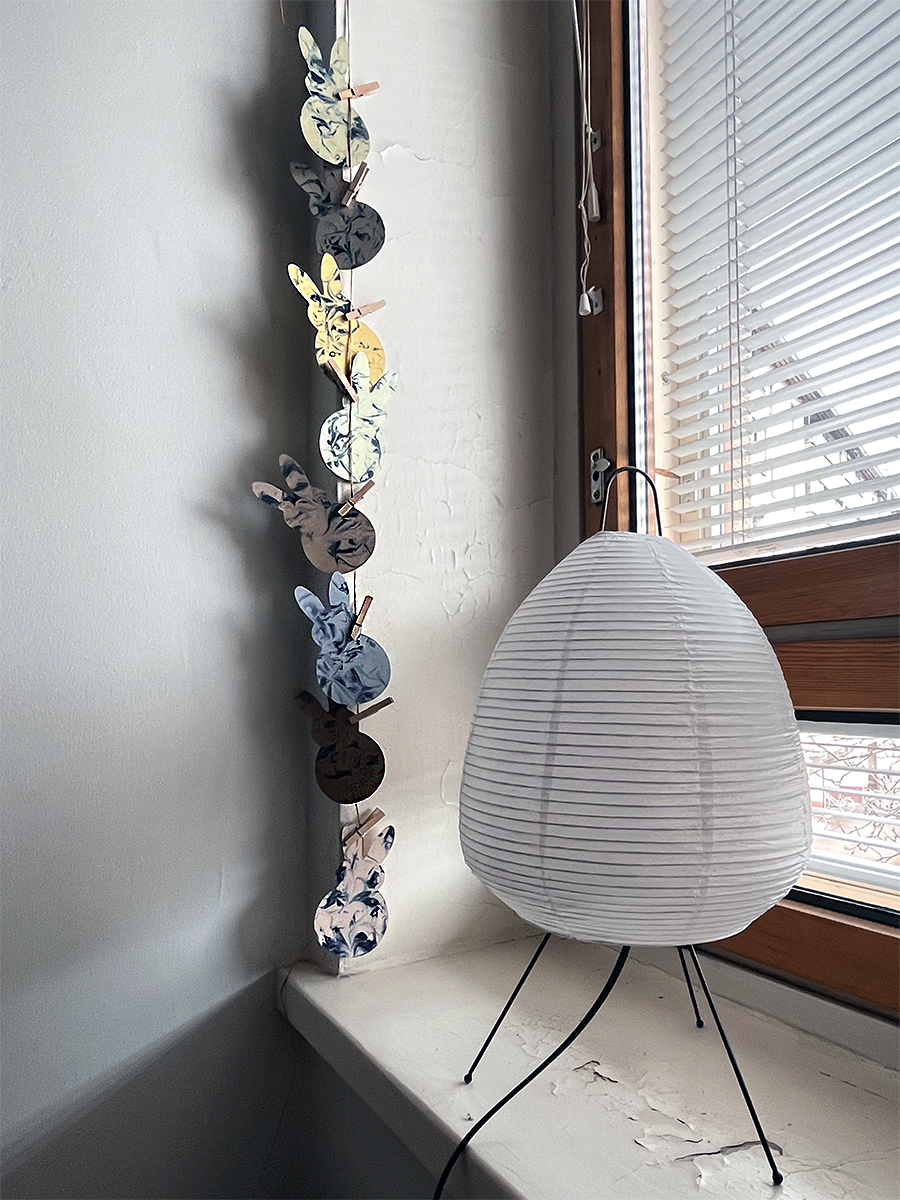
With just a few simple materials and a bit of mess (the fun kind!), you’ll be able to create unique, swirled marble patterned designs, on quality papers with natural, earthy tones. The bunny garland is perfect for hanging across a mantle, window, or Easter brunch table, bringing a soft, handmade elegance to your space. Let’s hop to it!

Materials you’ll need:

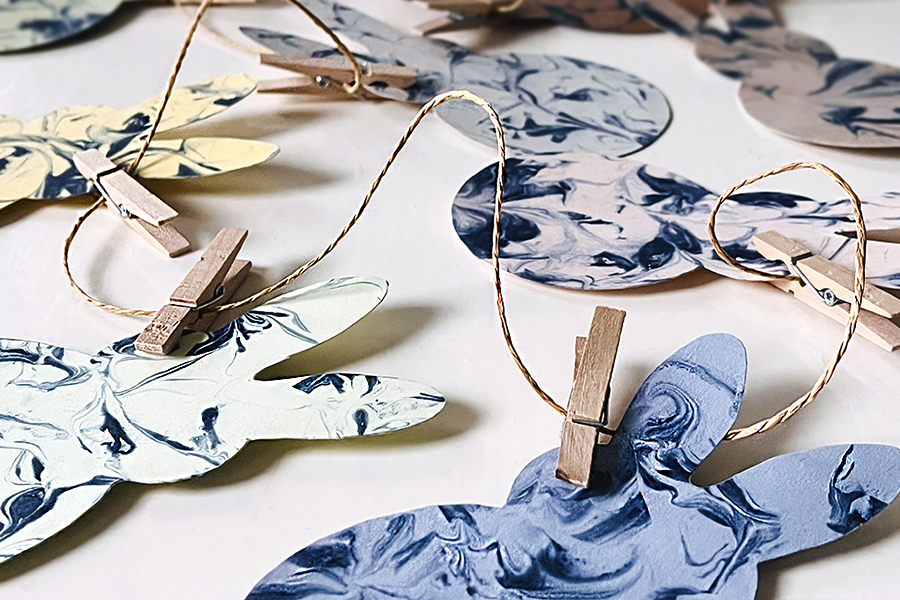
  • Your favorite papers! We’re using 8 different shades of Koehler Eco paper.

  • Bunny silhouette template from this DIY project.

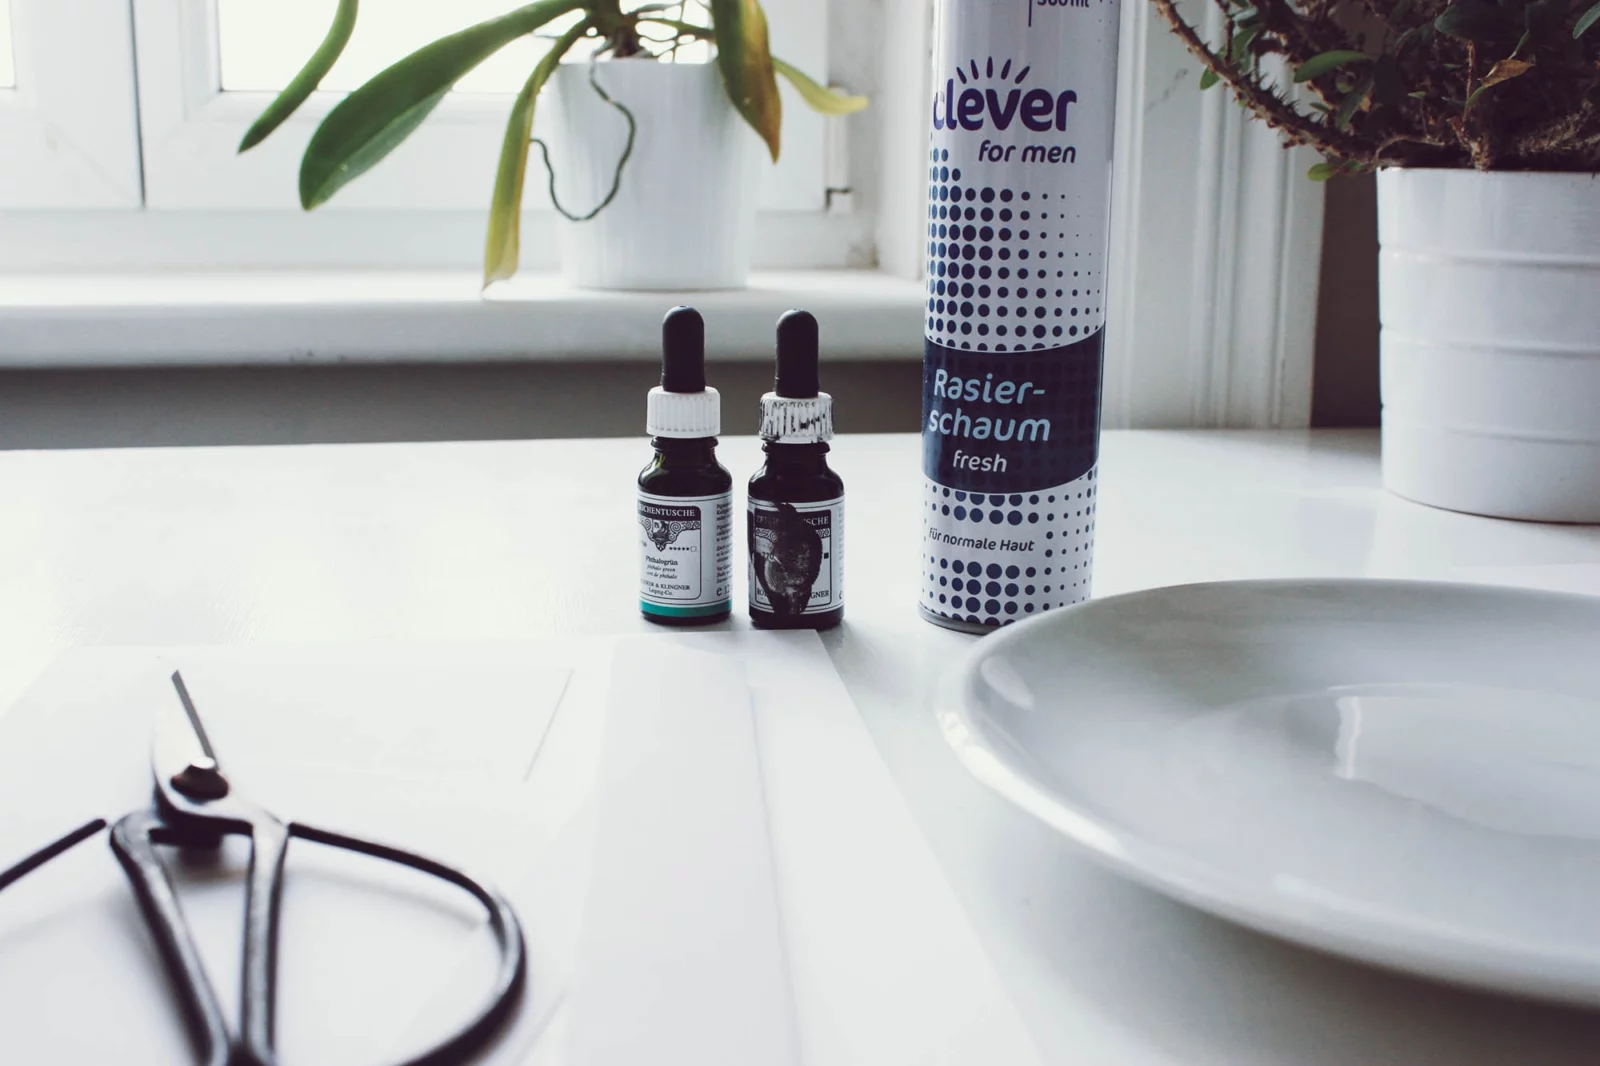
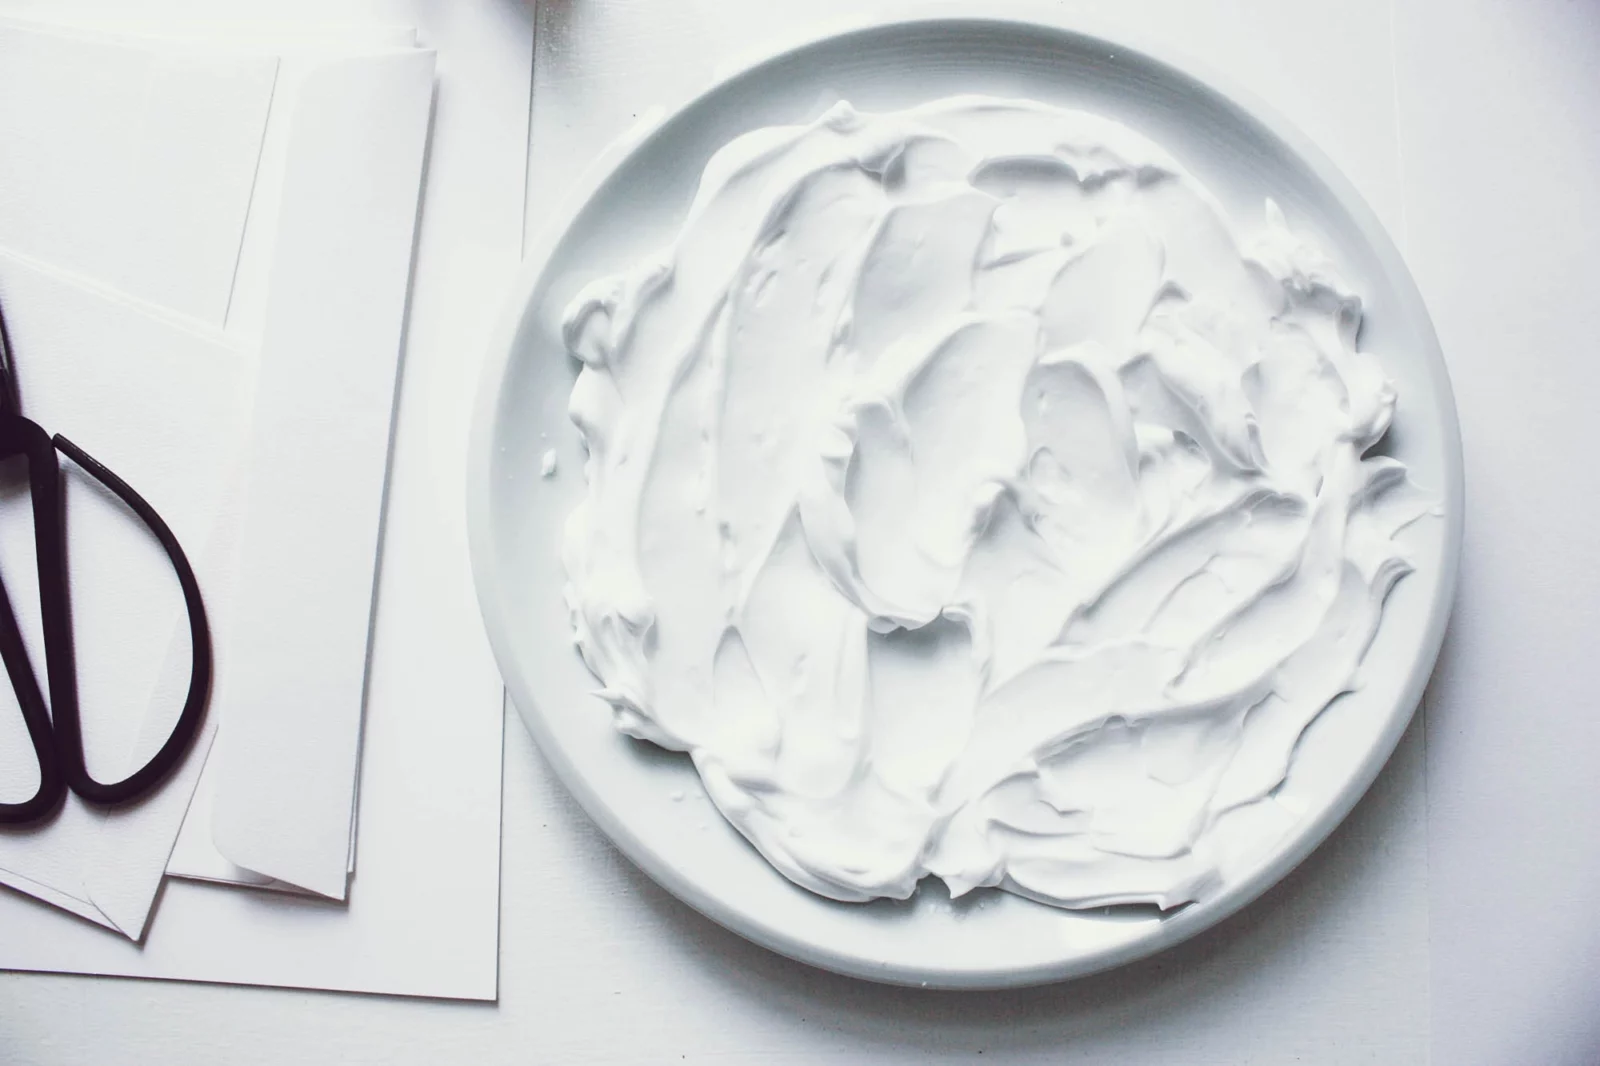
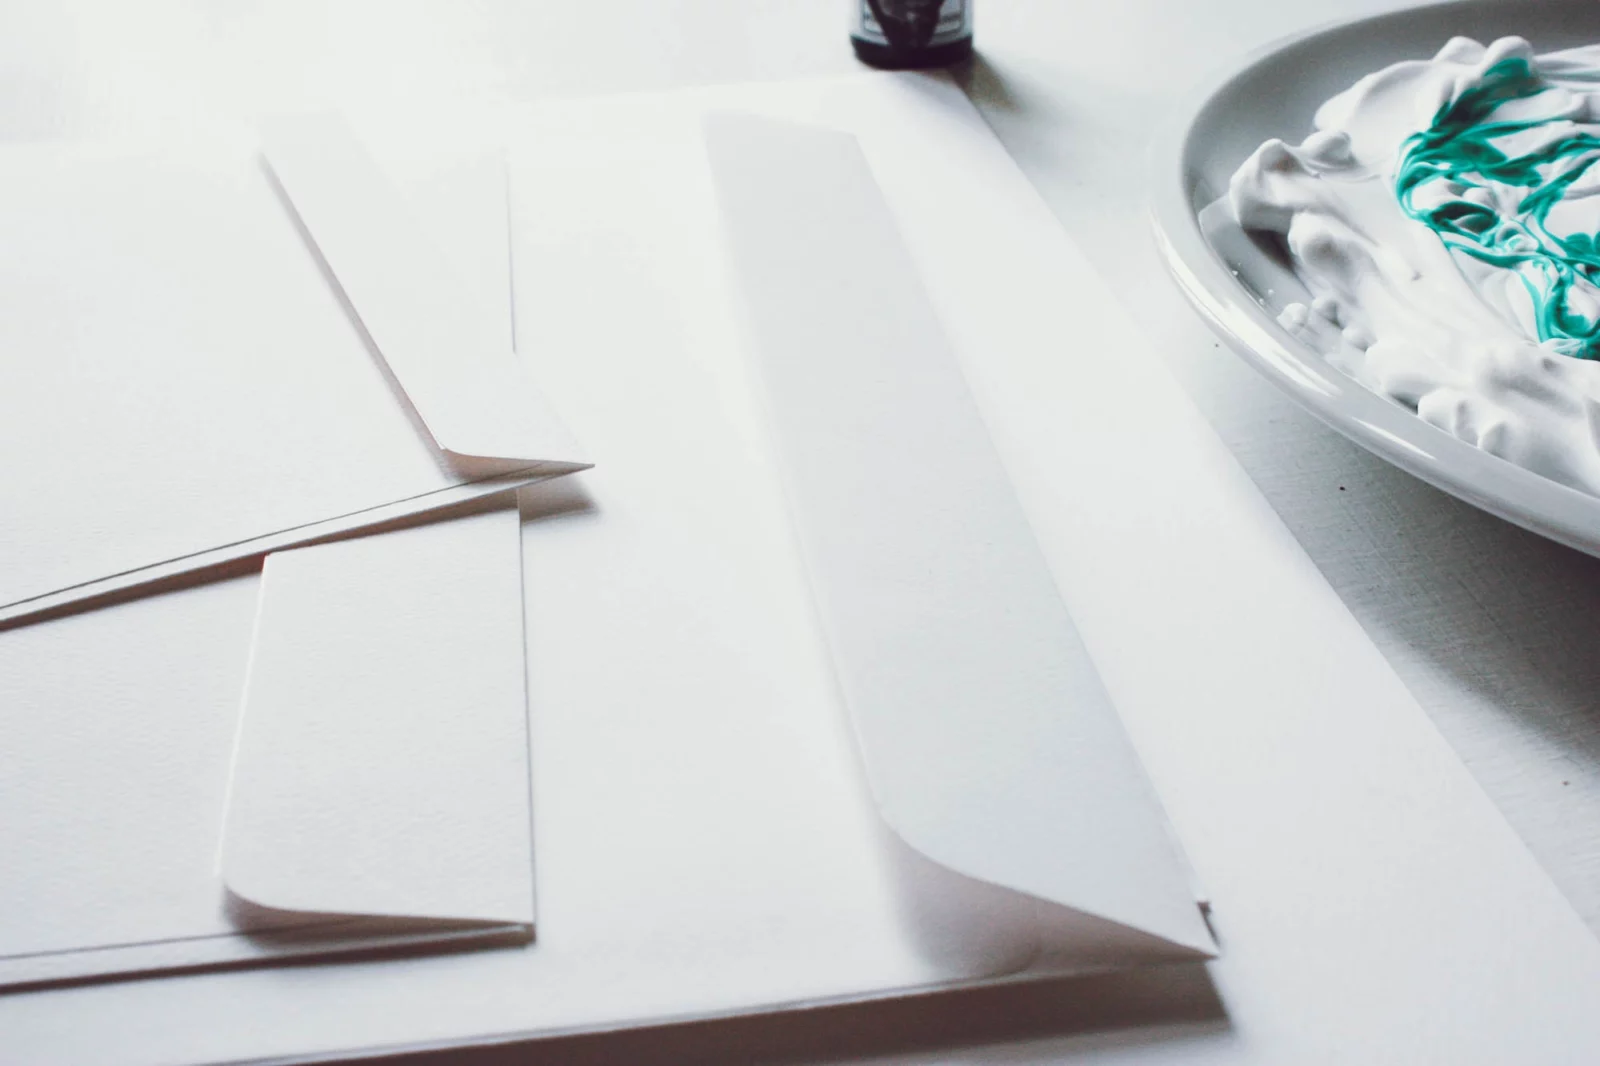
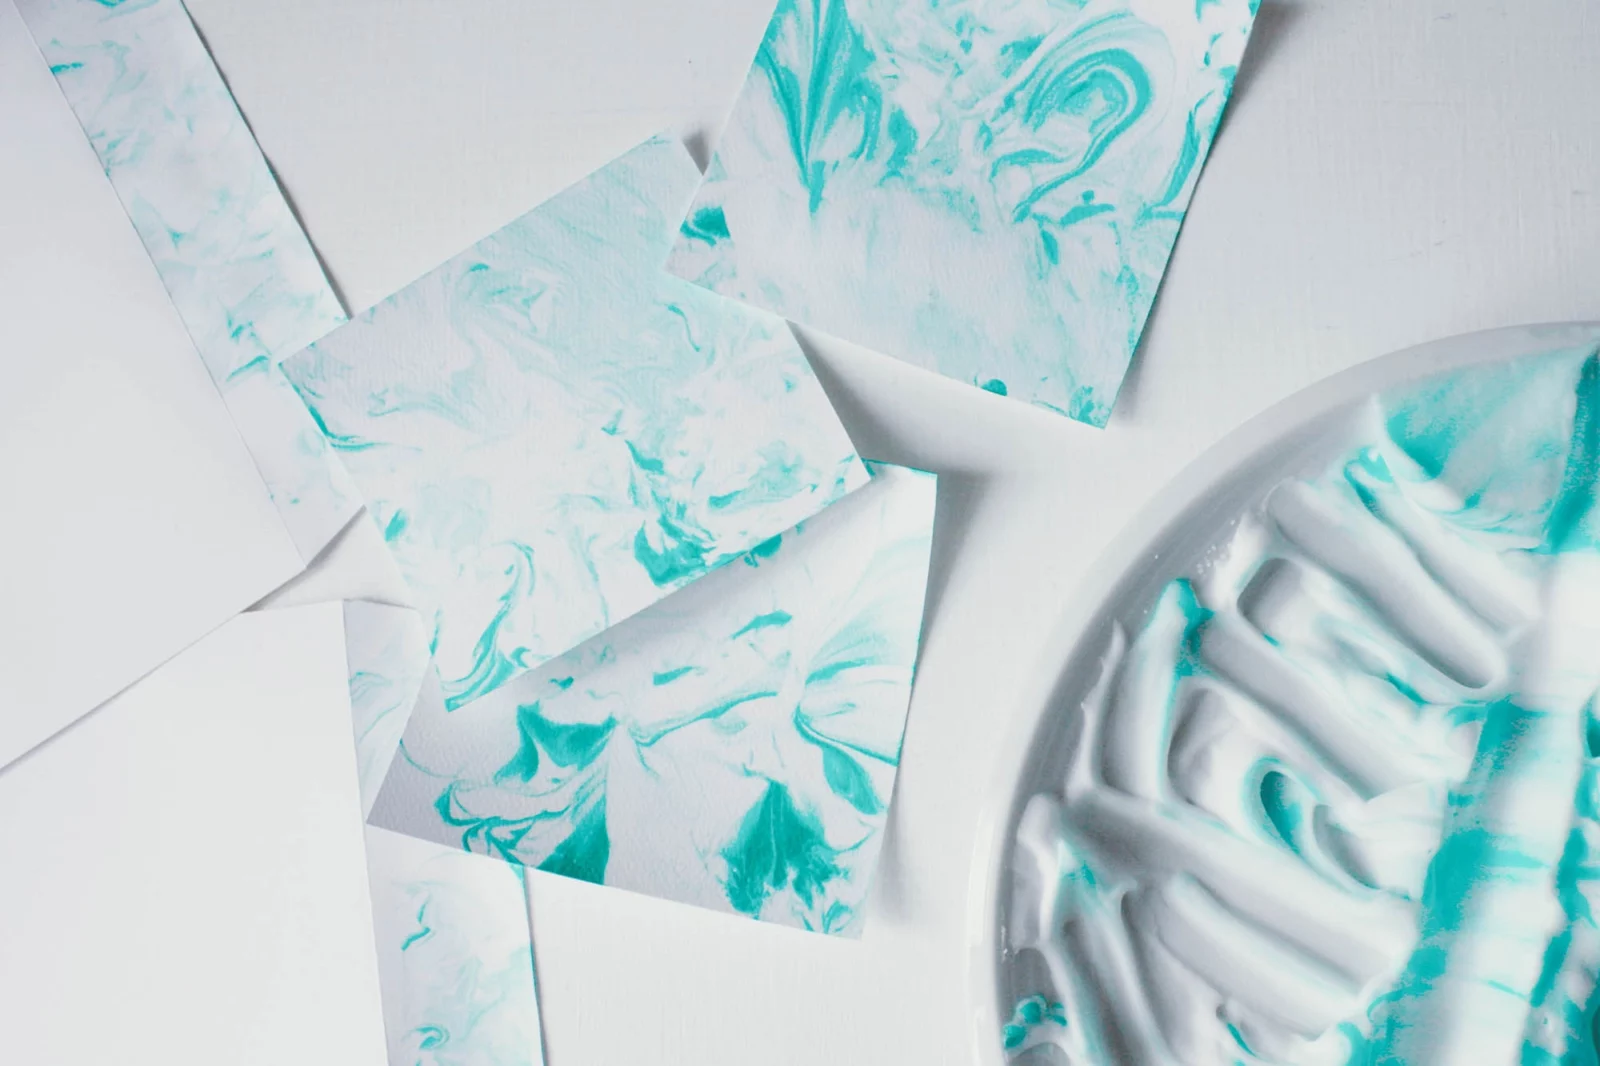
  • Shaving cream (classic foamy kind, not gel).

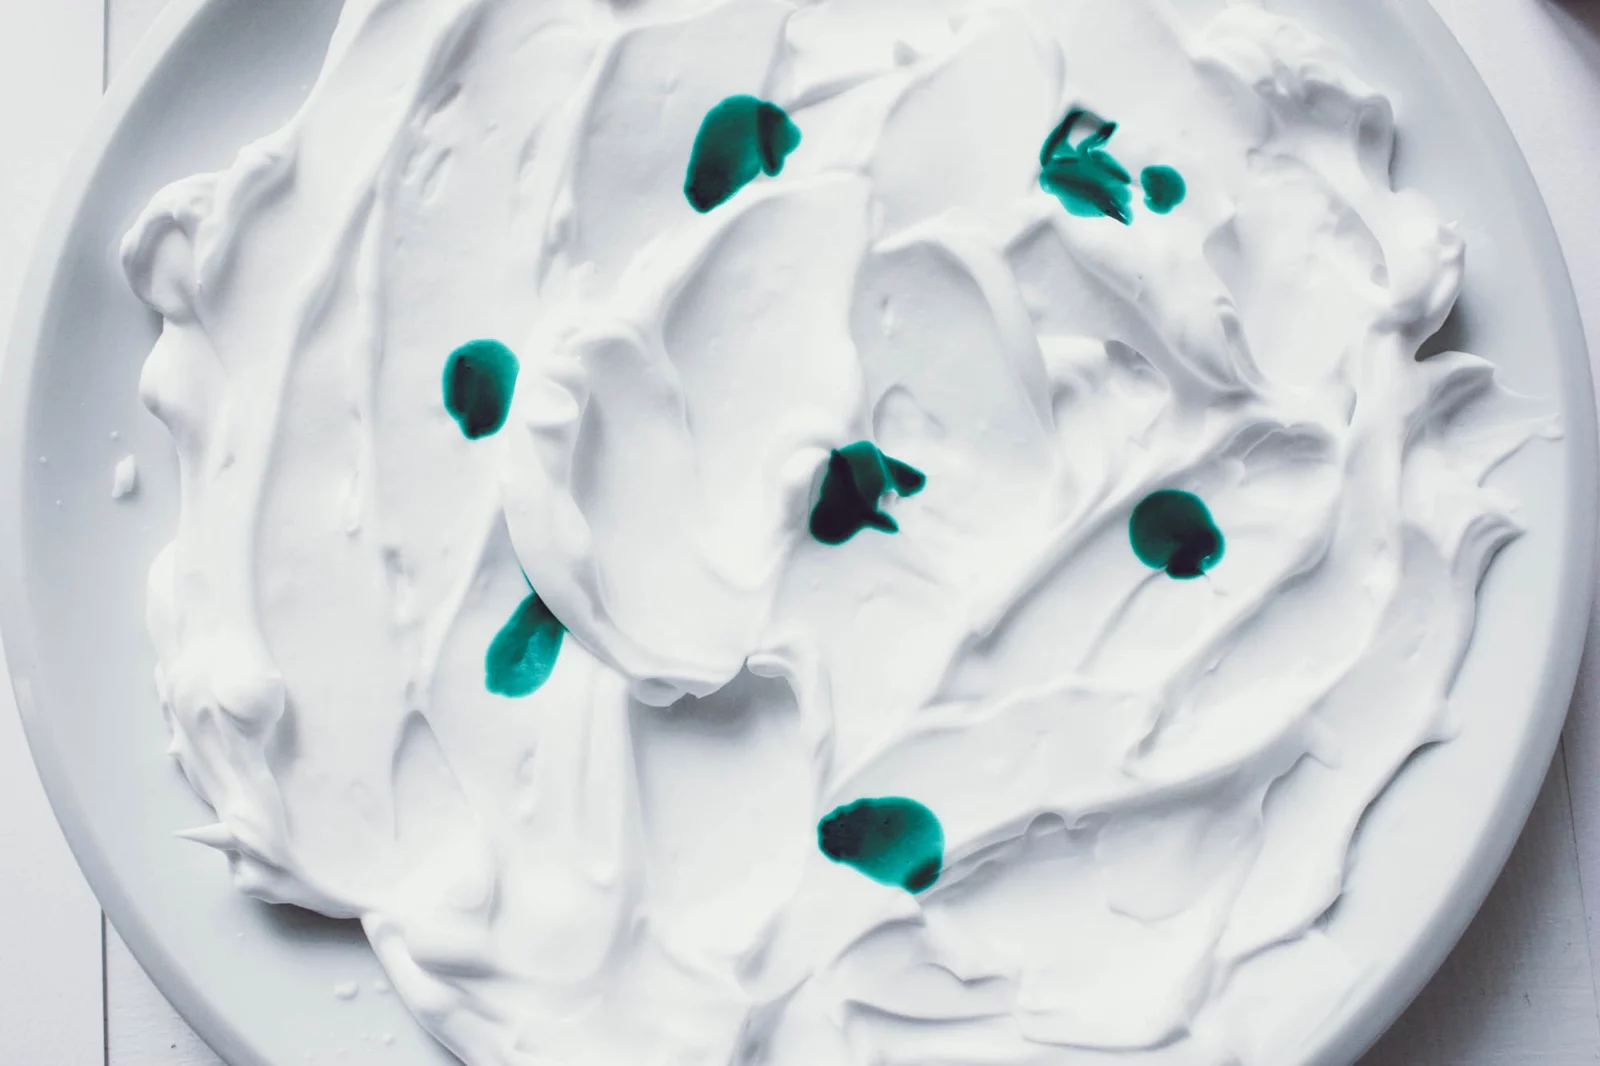
  • Liquid inks or food coloring in the color or tones you want.

  • A baking tray or shallow dish.

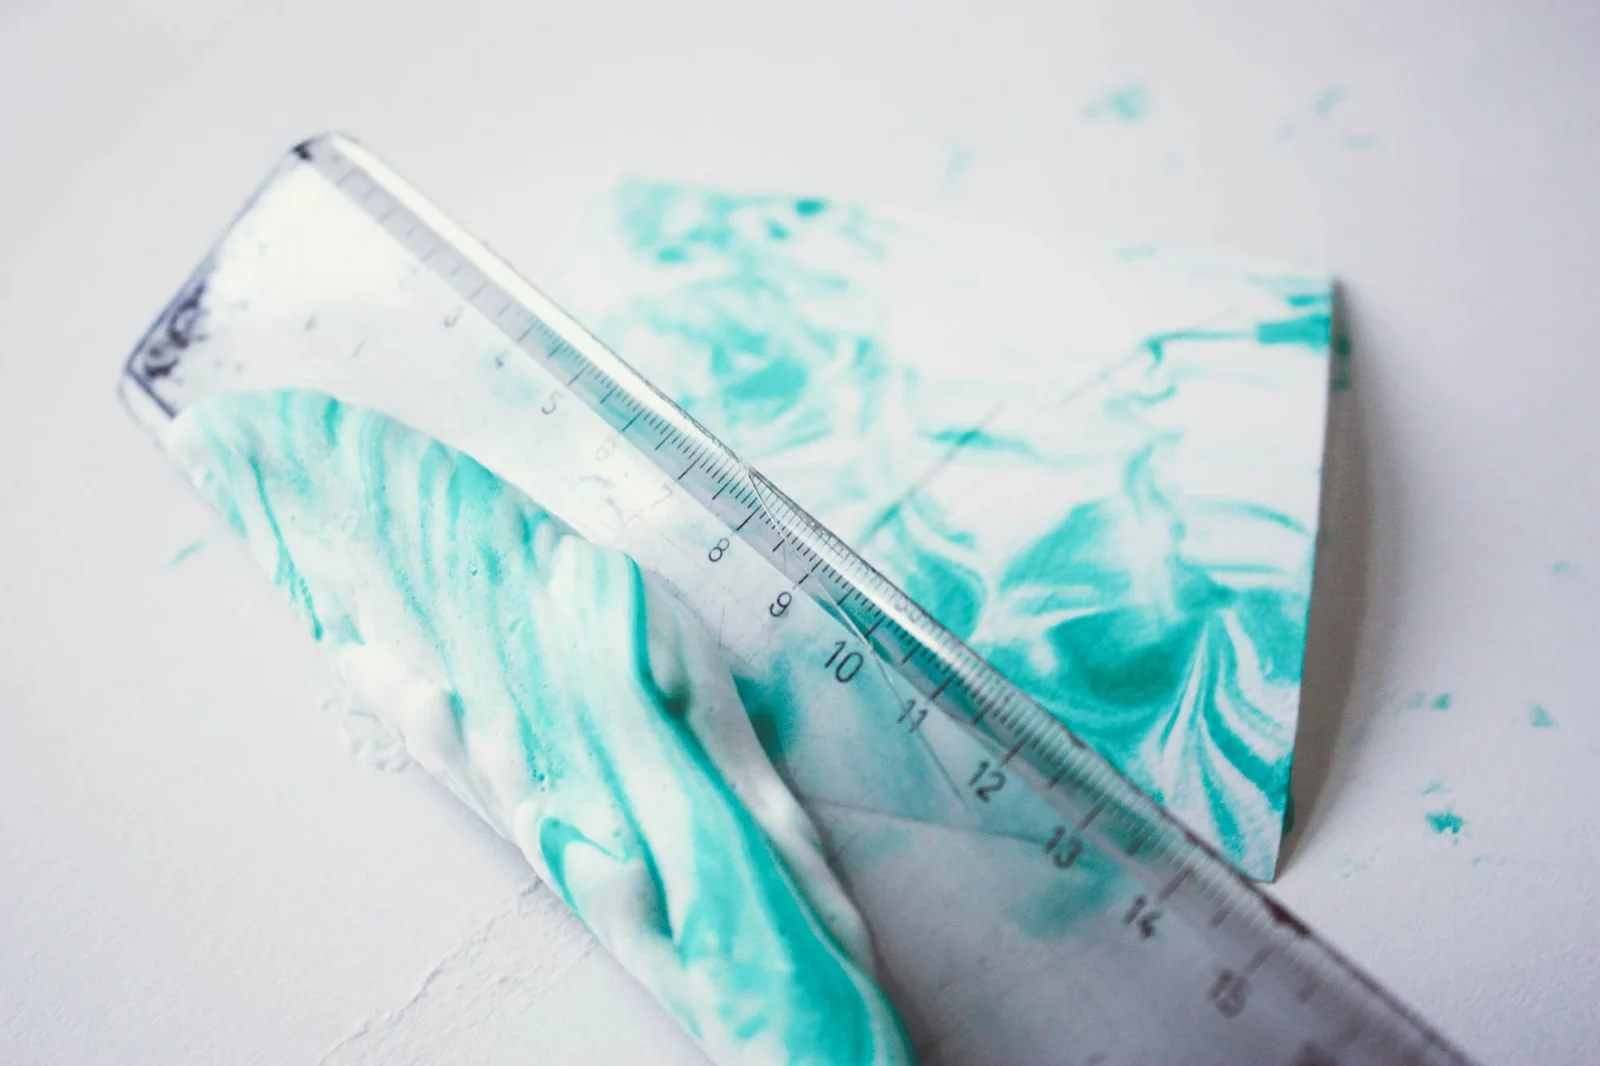
  • A spatula, a toothpick, some paper towels, scissors, string or twine, and a hole puncher, pins or pegs to hand the bunnys up.

Step-by-Step instructions on how to marble paper with shaving cream:

  1. Prep your workspace. Cover the surface you are working on, as it might get messy! 

2. Spread the shaving cream on a dish. Choose the size of the dish accroding to your paper size. The shaving cream

3. Add the coloring

4. Spread the color into a marbled pattern with the help of a toothpick or something similar.

5. Get your papers ready! You can also tape off some areas of the paper if you don’t want the pattern to cover the whole area. Make sure to use the right side of the paper. 

6. Press the paper firmly and evenly onto the shaving cream for a few second, don’t move it around. 

6. Lift the paper off the shaving cream but don’t touch the side with the cream.

7. Place the paper onto a firm, covered surface and scrape off the excess shaving cream with the help of a ruler or something similar. 

8. Let the papers dry completely, and if they are slightly pending because of the moisture–place between pages of a book for a few hours or under something heavy. 

The additional steps when making the Easter Bunny Garland with DIY marbled Koehler Eco paper: 

The marbling technique we’re using is a fun and easy method we first explored in this article. The shaving cream marling technique works wonderfully on Koehler Eco paper, adding a dreamy marbled texture while maintaining the paper’s earthy aesthetic.

1. Trace and cut: Using the bunny silhouette template, trace the shape onto each piece of  paper and cut them out carefully. You’ll want at least 10 bunnies for a nice, full garland.

2. Prep your workspace. Lay down some newspaper or scrap paper to cover the surface you are working on — things might get a bit colorful! Fill your tray or dish with a layer of shaving cream and smooth it out with a spatula.

2. Add the color! Drip your ink or food coloring over the surface of the shaving cream. I decided to use classic black to complement the delicate, soft tones of the Koehler Eco papers — soft greens, gentle yellows, muted pinks, and sky blues.

3. Swirl it up. Using a toothpick or skewer, gently swirl the color on the shaving cream into a marbled pattern. Don’t over-mix — you want to keep the swirls distinct.

4. Press and reveal! Take your cutout bunny and gently place on top of the shaving cream. Press down lightly to make sure it contacts the color.

5. Scrape and dry. Lift the bunny and place it face-up. Use a ruler or spatula to gently scrape off the shaving cream, revealing your gorgeous marbled pattern underneath. Let dry completely. Repeat the process with each bunny — making each one delightfully unique!

6. Add Details (Optional). Add tiny pom-poms, cotton balls, or paper tails to the bunnys if you’d like a bit of dimension — though the marbled patterns are stunning all on their own!

7. String it together. Punch a hole in each ear and thread the bunnies onto a piece of string or twine. Alternatively, attach them with mini clothespins or simply tape them to the back of the string.

8. Hang and enjoy! Display your finished garland over a fireplace, window, or along a shelf. It brings an instant touch of whimsy and seasonal cheer to any room.

Happy Easter and happy crafting!

This Easter, celebrate creativity, color, and sustainability with a handmade garland that’s as unique as spring itself. Whether you’re crafting with kids or just indulging in some weekend DIY joy, this bunny garland is sure to bring smiles and a fresh burst of seasonal charm to your space. If you try this project, be sure to tag us on Instagram @designandpaper — we’d love to see your beautiful marbled bunnies in action!

Images © Design & Paper

Categories

Subscribe
Get the latest articles and news delivered straight to the comfort of your own inbox!
Subscribe
X
Subscribe
Get the latest articles and news delivered straight to the comfort of your own inbox!
Subscribe