As the festive season approaches, there’s no better way to count down to the holidays than with a fun DIY advent calendar (previous year’s DIY projects here). However, rather than purchasing a traditional one, why not embark on a creative journey and make your own utilizing re-used and upcycled packaging you can find from your home?
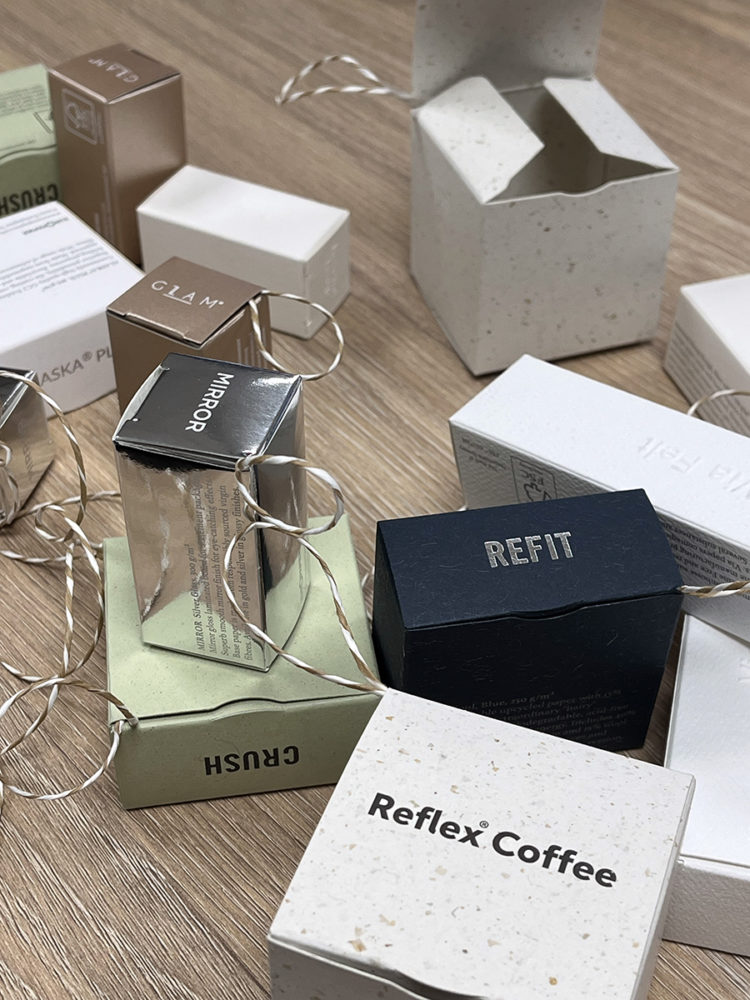 Smaller skincare, stationery, or dry food packaging does the job for this DIY perfectly! And while not only does this project add a personal touch to your Christmas tree decorations, but it also contributes to a more sustainable and eco-friendly celebration. I’d recommend using packaging containers of approximately 5-15cm in size, with empty cosmetics containers being a perfect fit. We utilized the new Europapier’s Premium Packaging Box and the 15 small ready-made boxes that come with it. You can learn all about the Premium Packaging Box here.
Small jewelry pieces, beauty and skincare samples, handmade trinkets, little heartwarming notes, stickers, and candy make the perfect gifts to put inside the boxes. Additionally, you’ll need tape, ribbon, and number stickers or recycled paper to label each box with the number of the day.
Step-by step instructions:
Step 1: Gather and clean your packaging containers
Collect empty cosmetics containers from your stash or ask friends for donations. Ensure they are clean and free of any remaining product. This step not only repurposes waste but also gives your advent calendar a unique and diverse appearance.
 Step 2: Decorate your containers
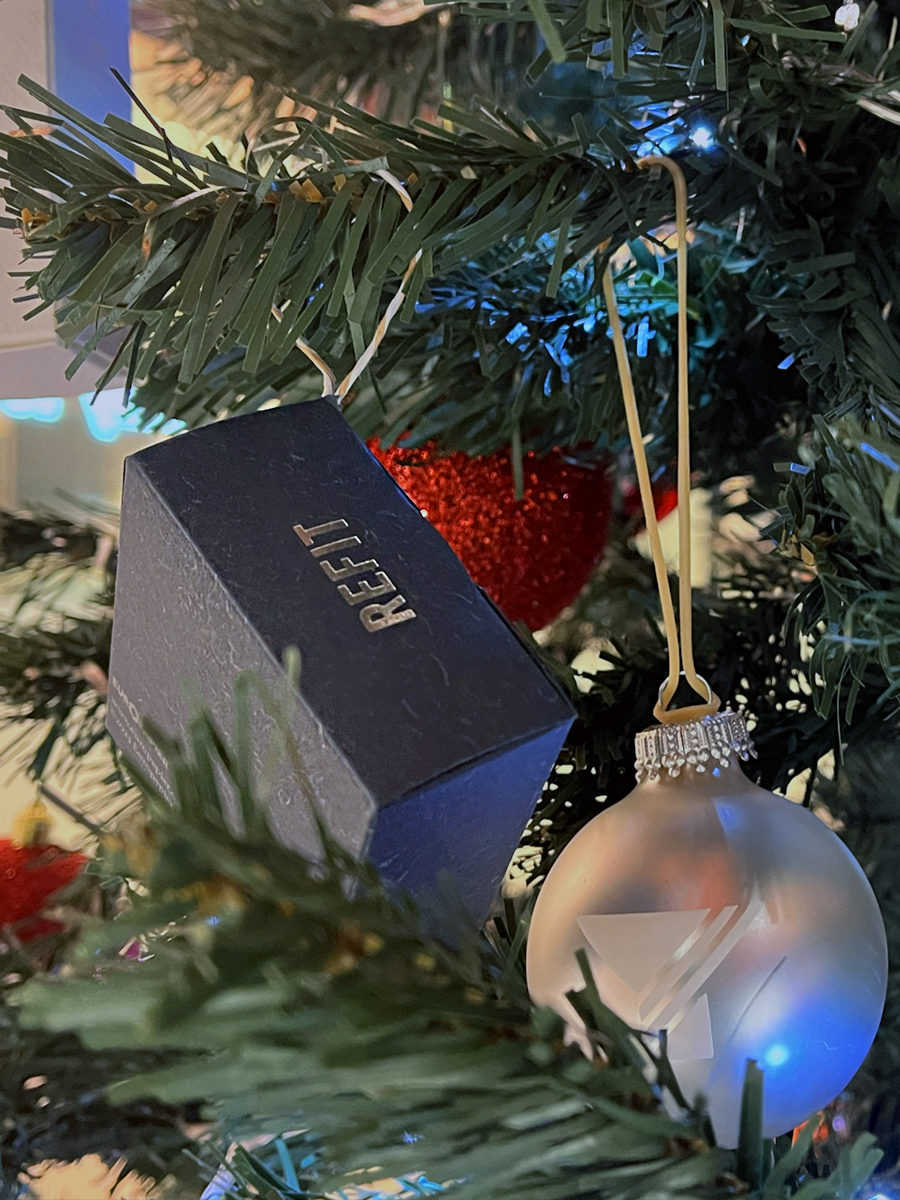
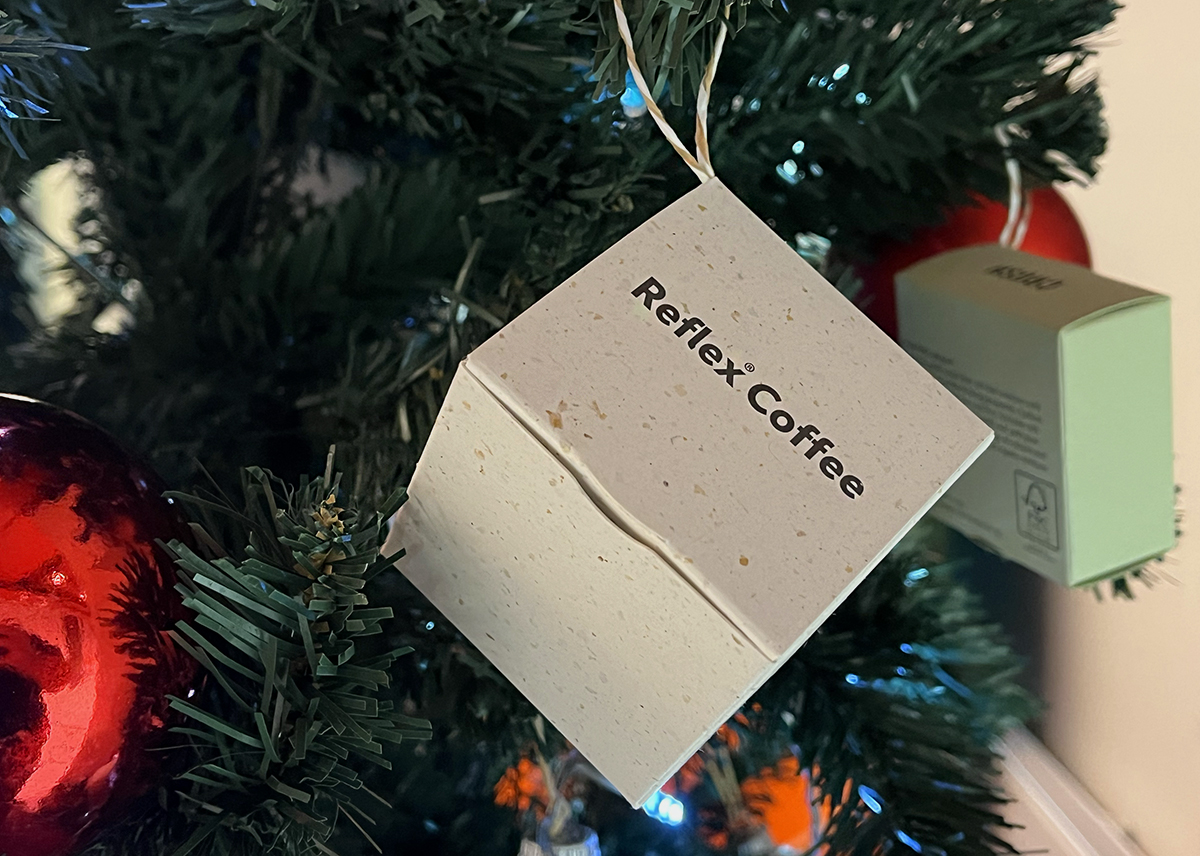
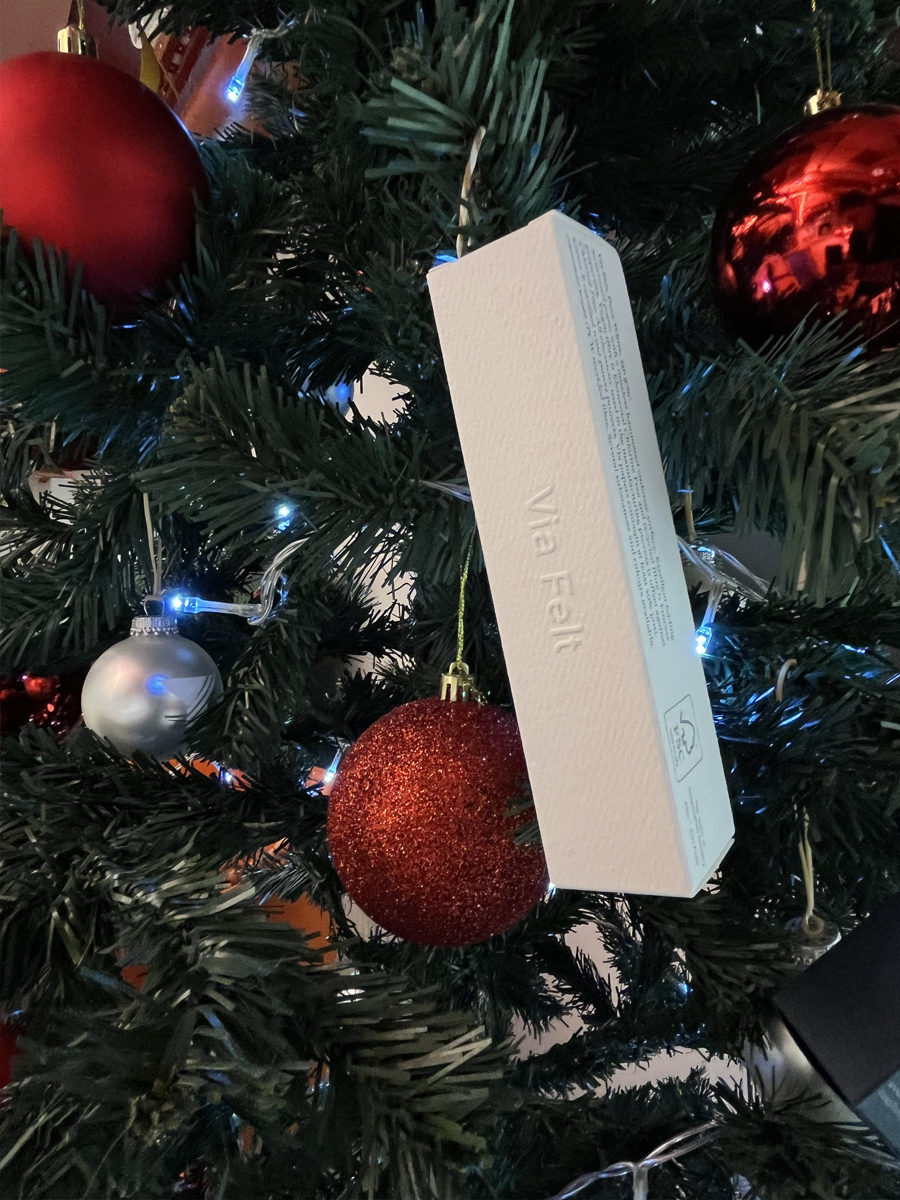
Don’t be afraid to mix and match, different boxes will look nice and festive once hung, but if it feels like the boxes are not the color you wish – give your empty containers a festive makeover using eco-friendly paints or wrapping paper. This adds a personal touch to each compartment and makes opening them even more exciting.
Step 4: Fill the calendar with tiny gifts
Place small, thoughtful gifts inside each compartment. These could include upcycled jewelry, beauty samples, or even handwritten notes with holiday wishes. Get creative and make each day a unique surprise.
Step 5: Assemble the Advent Calendar
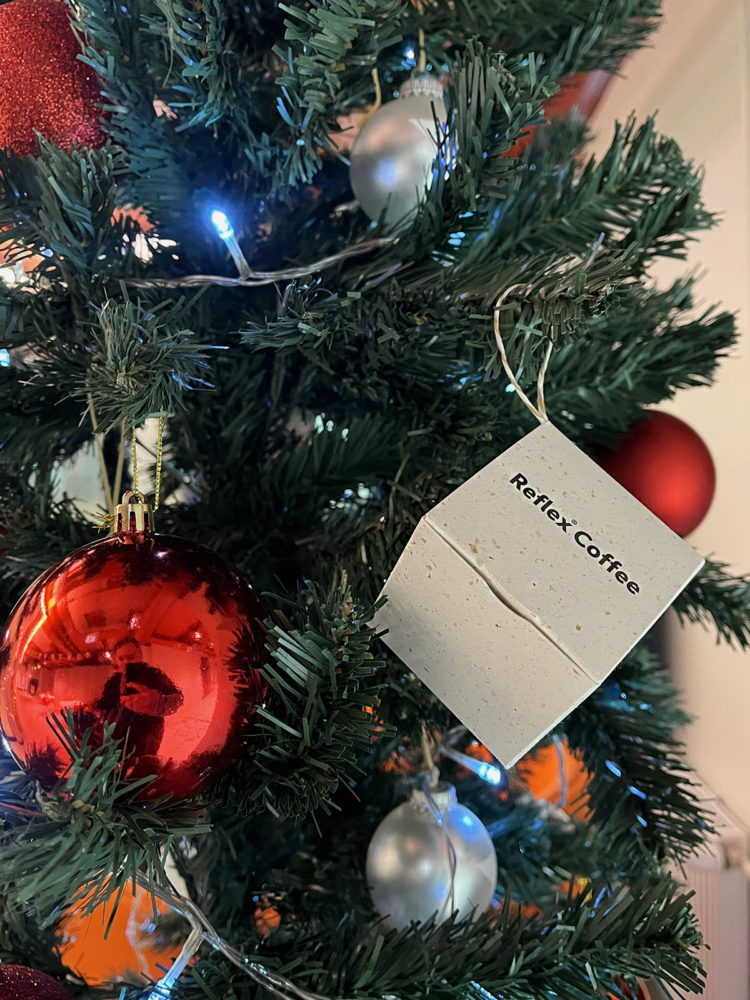
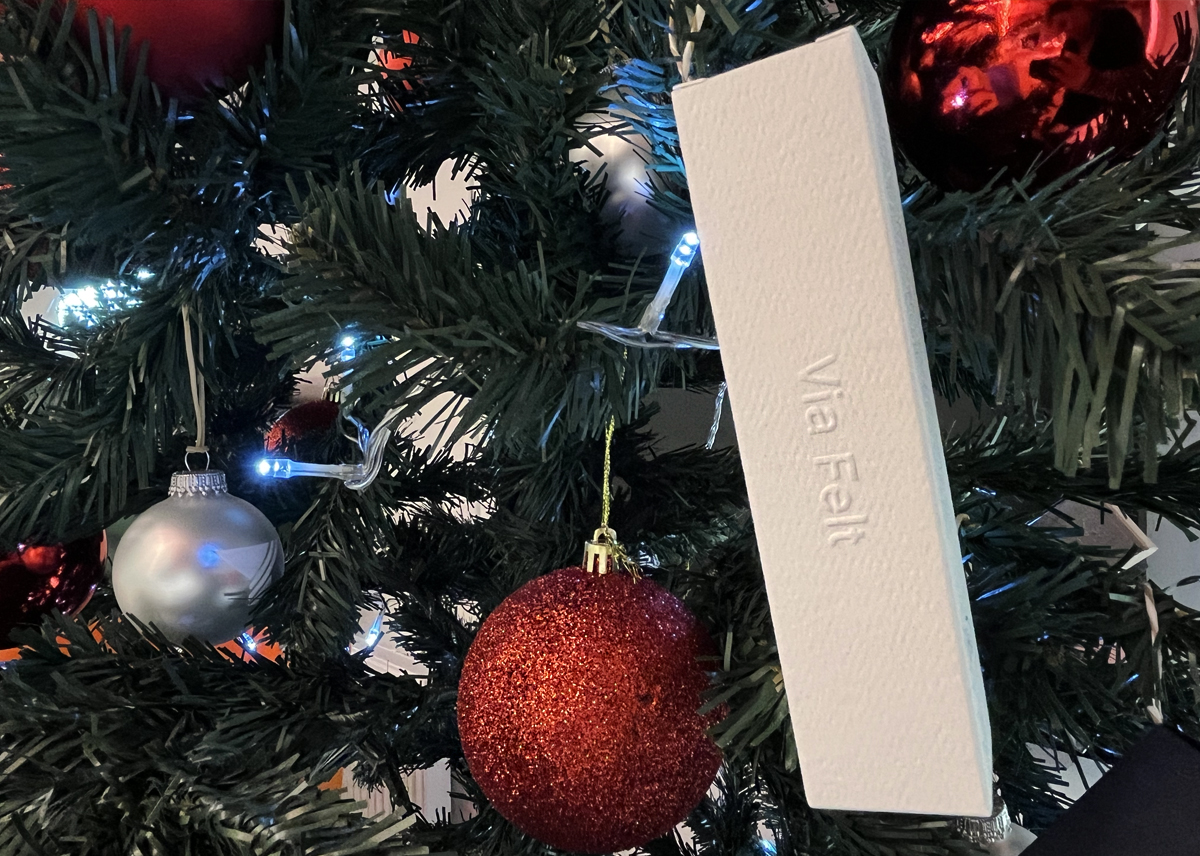
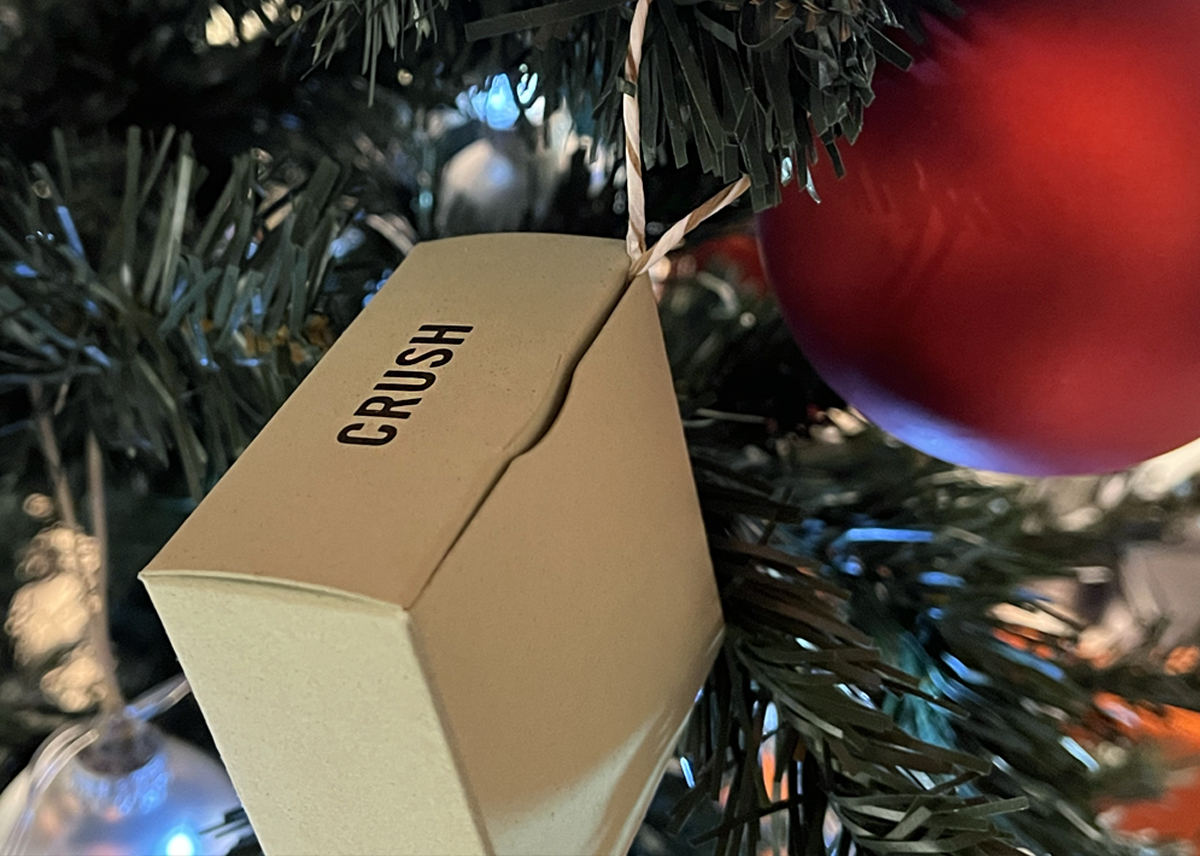
Attach a piece of ribbon or yarn to each container, a small tied-together loop with hold the container’s weight when placed in the corner of an opening. Remember to ensure the ribbon is securely attached and each container is numbered to guide you through the countdown to Christmas!
By creating a DIY advent calendar from re-used or upcycled packaging, you reduce waste and bring a touch of sustainability to your holiday traditions. This personalized and eco-friendly DIY Advent Calendar allows you to enjoy the festive season with a clear conscience, knowing you’ve made a positive impact on the environment. Happy crafting and happy holidays!

© Design & Paper

